This is the 5th post in a series about using UX and ethnography as regular tools at the University of York. We're treating these techniques as 'business as usual' - in other words part of a selection of tools we'd call upon regularly in appropriate situations, rather than a stand-alone or siloed special project. If you're interested you can read Part 1: Long term UX, and two guest posts from our UX Interns in Part 2 and Part 4, plus my take on planning and delivering a UX-led project in Part 3.
Having focused our first two uses of UX on students - specifically postgraduates - the third time we've used it in earnest has been with the academic community.
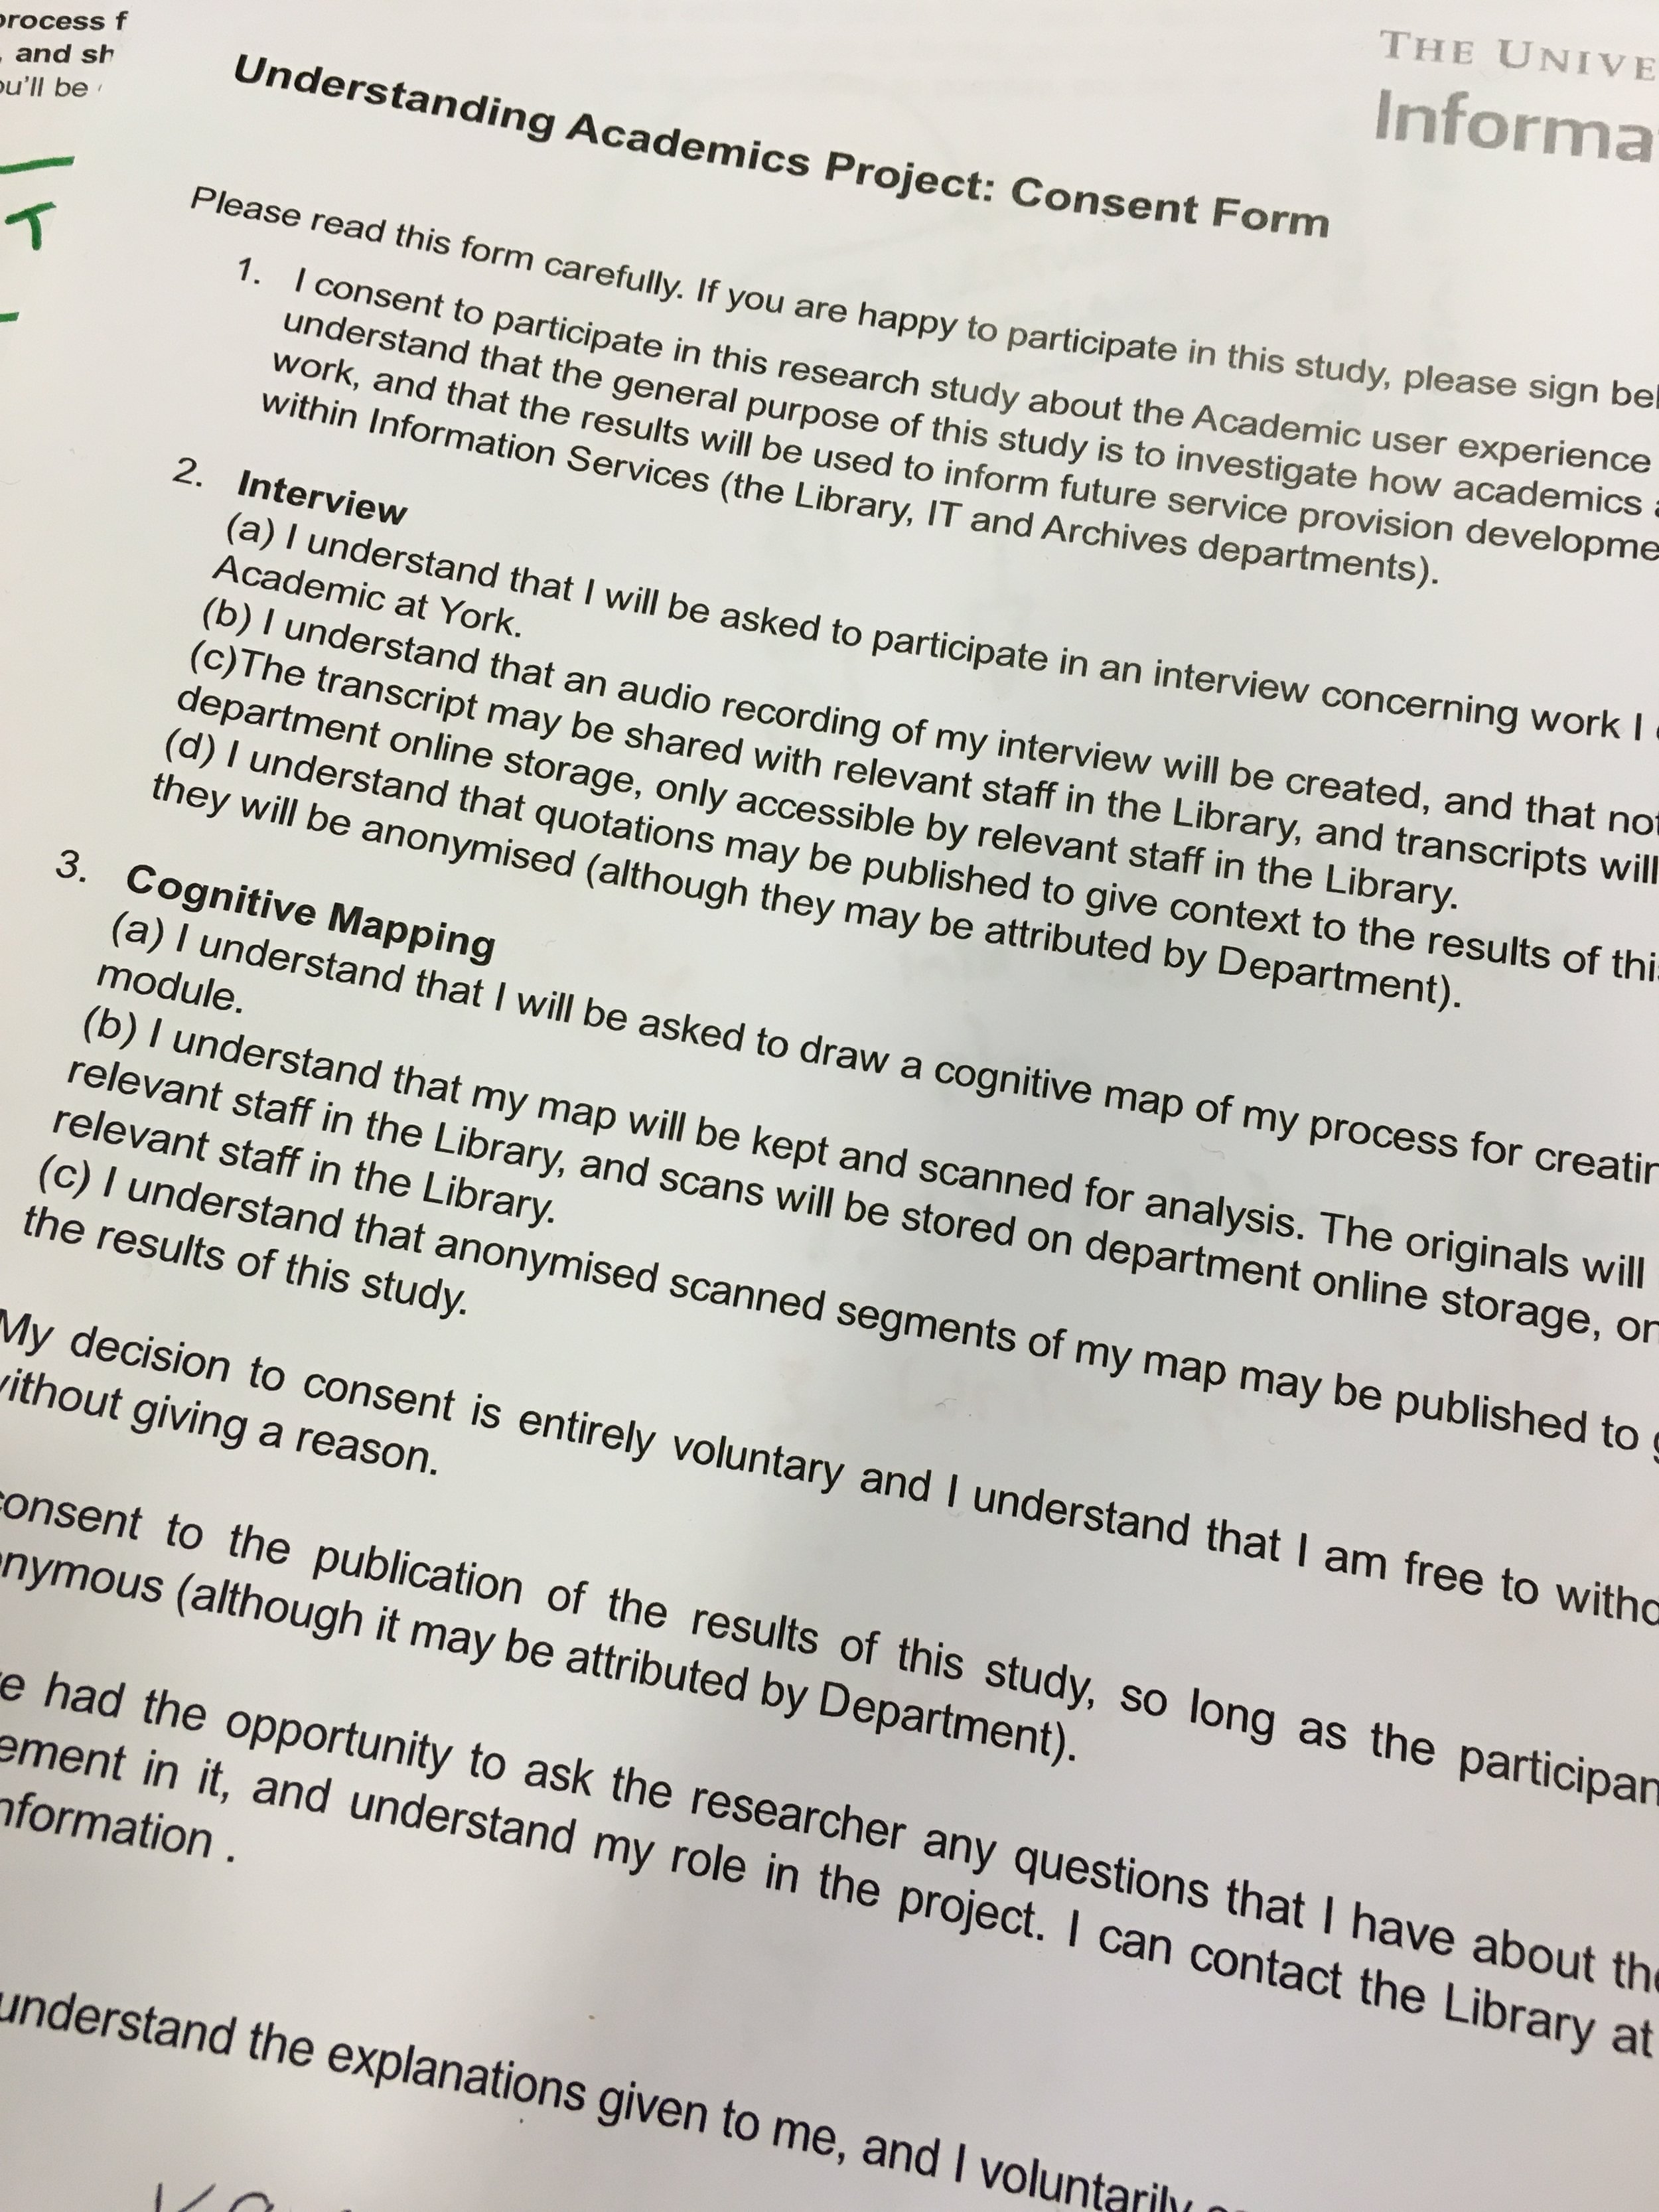
One of the consent forms from the project
The Understanding Academics Project
The project to better understand the lives and needs of our academics was an existing one in the Library: we knew we wanted to tweak our services to suit them better. After finding the UX techniques so useful we decided to apply them here and make them the driving force behind the project. All other useful sources of info have been considered too - for example feedback to Academic Liaison Librarians, comments from the LibQual+ survey etc - but the body of the project would involve using ethnography to increase our understanding.
We've used five main ethnographic techniques at York (six if you count the feedback wall we now have near the exit of the library) but decided to limit ourselves to two of them for this project: cognitive maps, and semi-structured interviews. We aimed to meet 4 academics per Department, and ask them to draw a cognitive map of either their research process or the process for designing a new module - so unlike our previous UX projects which involved maps of physical spaces, this was literally 'mapping' the way they worked. Some interpreted this very visually, others in a more straightforward textual way. In all cases though, it proved an absolutely fascinating insight in to how things really work in academia, and provided a brilliant jumping off point for the interviews themselves.
These interviews were semi-structured rather than structured or unstructured; in other words they were based largely on the map and a natural flow of conversation rather than having any pre-set questions, but there were areas which we'd bring up at the end of they didn't come in the conversation without prompting. So for example most people in drawing the teaching-related map mentioned our reading list system, either in the map or in conversation - if after 50 minutes of chat it hadn't come up at all, we'd ask as open a question as possible to prompt some insight into their thoughts on it.
Vanya Gallimore has written a great overview of the project on the Lib-Innovation Blog, which we set up in the library to document our UX work among other things. In it she writes about the background to the project, the methods used, staffing it (in other words, who was doing the interviews) and then briefly about processing the data. It's the most popular post on our new blog and I'd recommend giving it a read.
For now I want to focus on something that post doesn't cover so much: actually doing the ethnography.
Ethnography fieldwork in practice
What is the verb for ethnography? Is it just 'doing' ethnography, or performing ethnography? Ehtnographising? Whatever it is, I hadn't done it in earnest until this project. In the two previous projects I'd been involved in setting things up, helping with the direction, interpreting the data and few other things, but we'd had interns out in the field, talking to people and asking them to draw maps etc. For Understanding Academics, it was agreed that the Academic Liaison Librarians (of which I am one) should be doing the fieldwork, for various reasons described by Vanya in her post linked above - ultimately it came down to two things: the need for a proper familiarity of the HE context and our systems in the Library in order to understand everything the academics were saying; and the sheer opportunity of talking in amazing depth with people in our departments.
One of the most common quesitons about the project is: how did you get the academics to take part? The answer is, we asked them all individually, by email. No mass emails to the whole department, but no incentives either (we've offered post-graduates cake vouchers and the like, in previous UX projects) - just an email to a person selected with care, often in conjunction with the Library Rep and / or Head of Department, explaining what we were doing, why we were doing it, and our reasons for approaching them specifically. We asked around 110 academics this way, and 97 said yes: the other 13 either didn't want to do it or couldn't make time within the duration of the project.
There was a roughly even split of research focused and teaching focused conversations (although in either case there were no limits to the conversation, so some interviews ended up mentioning both). I look after three Departments from the Library: I interviewed three academics from one, and four from each of the other two, plus I did two of the three 'warm-up' interviews.
Prep
The warm up interviews were just like the regular interviews, and their data included in the project, but they were with partners of library staff who happened to be academics... The idea was to refine our processes and see how things worked in practice, on an audience who wouldn't mind being subject to our first attempts at ethnographic fieldwork. This was really useful, and we changed things as a result - for example the message written on the top of the piece of paper assigned to draw cognitive maps on was made clearer, and we extended the time we'd set aside for each interview after the try-outs used their 60 minute slots before the conversations had reached a natural conclusion.
For the remainder of my interviews the prep consisted of reading up on each academic on their staff profile page, printing out the various bits of paper required, and charging devices.
Accoutrements
There were a lot of things we had to bring with us to each interview.
- a device to audio-record the whole thing on (my phone);
- a device to write on (ipad with keyboard, or laptop);
- the paper with the map explanation on;
- the paper with the areas to cover if they didn't arise naturally listed;
- two copies of the consent form - one for us to keep and one for the subject to keep
- a set of four pens (we ask users to draw cognitive maps over a period of 6 minutes, giving them a different colour of pen every 2 minutes)
Of the above, the cognitive map, conversation topics and consent forms were all either teaching specific or research specific - largely the same but with subtly different wording in places.
The Map
Each session began with an explanation of what we were doing here. The emails sent to invite each academic had covered some of that, but it's always good to talk it over. We discussed what the library wanted to do (change things for the better) but that we didn't have specific things in mind - we wanted to be led by the data. Then we talked about the format of the interview, the fact it would be recorded, and went through the consent forms. I particularly stressed the fact they could withdraw at any time - in other words, an academic could decide now, several months later, that they wished they hadn't been so candid, and we'd take all their data out of the study.
Finally we explained the map, the use of the different colours of pen, the fact it didn't have to be remotely artistic. None of my interviewees seemed particularly put off or phased by drawing the map. Then there was a period of silence as they drew the map (not everyone needed all six minutes; if people took longer than six minutes I didn't hurry them), after which I turned on the recorder and said 'Now if you can talk me through what you've drawn...'
The Interview
Once the subject had described their map - with me trying not to interrupt unless I didn't understand something, but jotting down potential questions as they talked - the interview commenced. I can't recommend highly enough using either a cognitive map or another ethnographic technique such as a love/break-up letter or touchstone tour as a jumping off point for an interview. It means you instantly have context, you're in their world, and there's no shortage of meaningful ideas to talk about.
I have to say that during the main body of the interview, I didn't actively try and think about what the project was trying to achieve, I just asked questions I was interested in. Sometimes this meant spending a long time discussing things which weren't library related at all - but that's part of what this project is all about, to understand the academic world more holistically rather than in a library-centric way.
Some interviews came to a natural end after around 40 minutes; others I felt like we could have gone much longer but I didn't want to take up more of their time than I said I would.
Writing up
One of the changes we made after the initial interviews was to just listen and not try and write notes whilst the protagonists described their map. We didn't have time to transcribe each interview (that would mean we'd have spent more than 500 hours on the project before a single piece of analysis) but we did feel the map description was key, so we listened without writing during that bit and transcribed it fully later. We then wrote notes as we conducted the interview, using the recording to go back and fill any holes or make clear anything from our notes that didn't make sense. Sometimes during a particularly long and involved answer I'd just write go back and listen to this in my notes and stop writing until the next question.
We blocked out time after each interview to write it up immediately while it was fresh in our minds - so in my case this was mainly going through and correcting all the mistakes from my high-speed typing, then referring to the recording where necessary, then noting down any immediate conclusions I could draw outside of the project framework - things I could learn from and change the way I worked because of. I didn't write these down as part of the notes from the interview because I didn't want to bias the analysis in any way - I just wrote ideas down elsewhere for my own use.
Conclusions
I absolutely loved doing the fieldwork for this project. It was fantastic. I learned so much, I deepened existing relationships, and I got to know staff really well who I'd barely met before. Every time I came away from an interview I was absolutely buzzing.
I don't think everyone enjoyed it as much as I did. Some people felt like they didn't know enough about a subject's research project to be able to ask intelligent questions about it - personally I just asked unintelligent questions until I got it - and there was the odd instance of the conversation being stilted or awkward. For me and a lot of my colleagues, though, it was eye-opening and actually really exciting.
The question of what we do next - how we process all the data, and then act on what we learn - is covered in the following post.